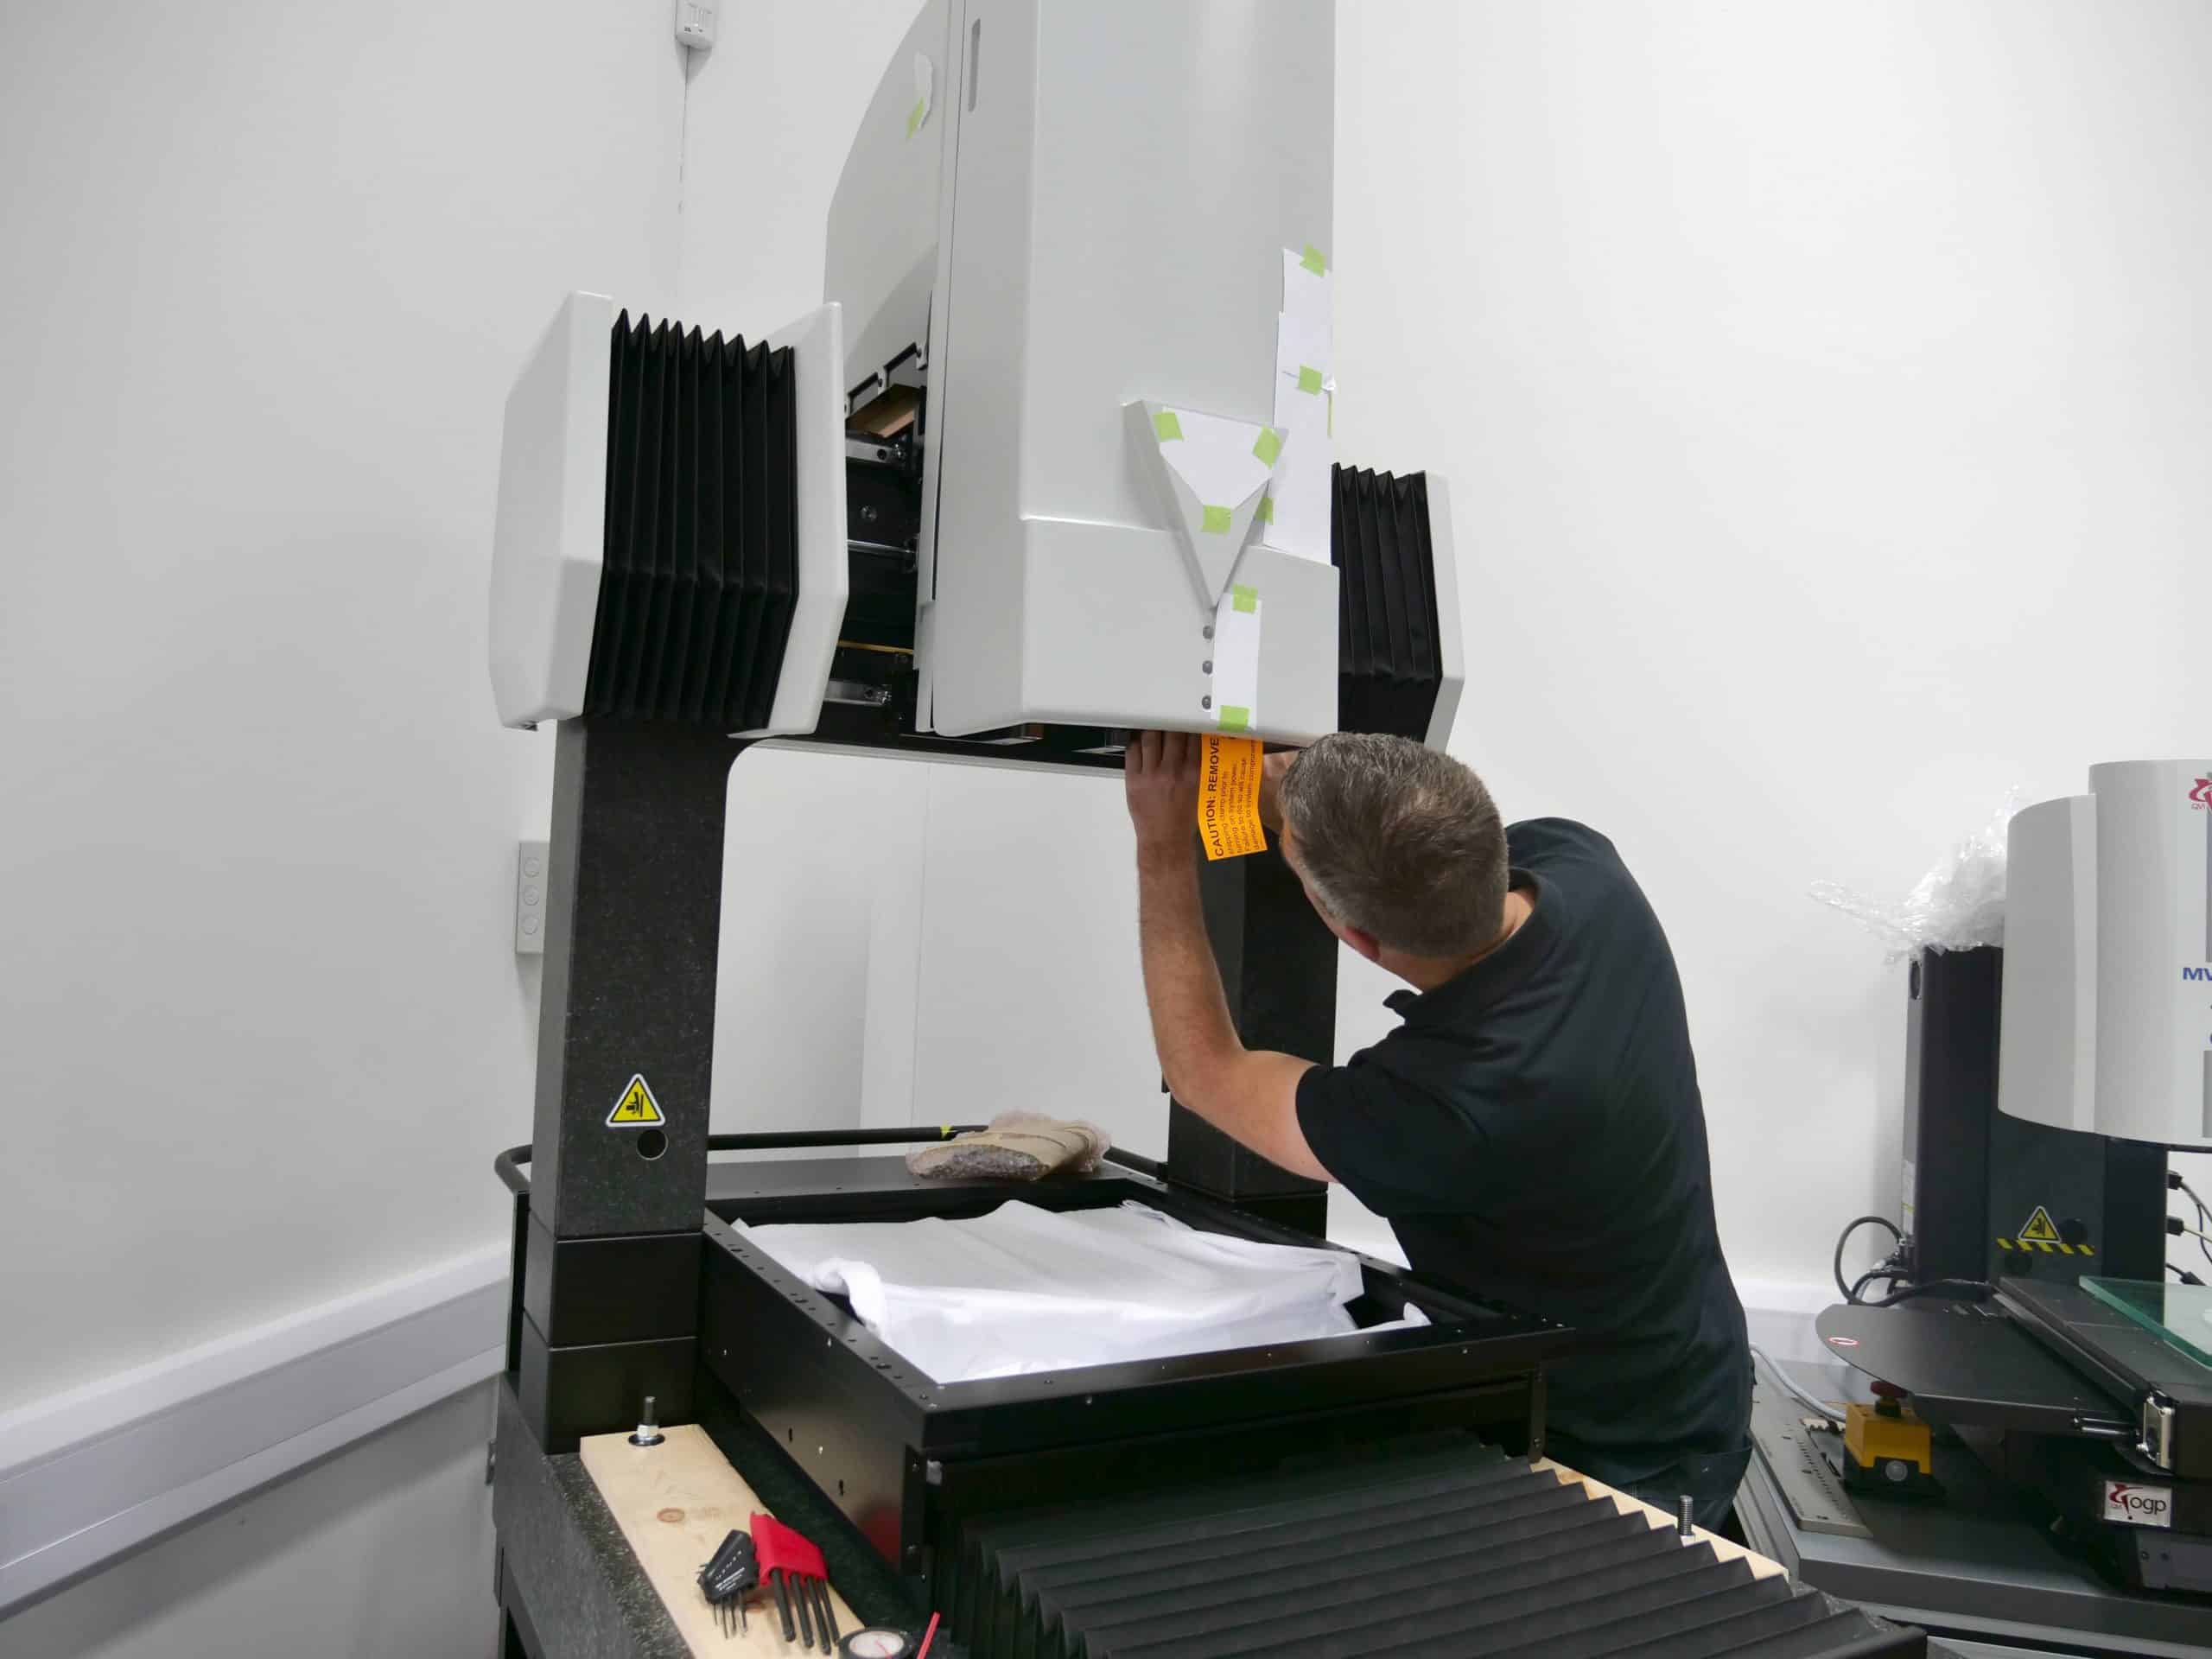
OGP UK have welcomed the versatile large-capacity platform into their demonstration facility.
The OGP Vantage 450 is part of the flagship Vantage SmartScope range, designed to combine a variety of sensors for full three-dimensional measurement. This involves touch and scanning probes, optical sensors, patented TeleStar® TTL lasers, and more.
The OGP Vantage 450 is designed to measure larger parts and fixtures of multiple parts. It’s built with a sturdy steel construction and a solid granite bridge design which dampens vibration even during high-speed stage translation.
A Range of Sensors
The Vantage 450 can make use of a variety of different probes and sensors, including:
- Tactile: Features that are difficult to image or capture on video can be explored with a touch probe. Feather probes exist for incredibly fine and delicate physical contact with an element, and scanning probes can continually brush along the contours and features of a part for more dynamic profiles.
- Laser: Able to utilise DRS (Digital Range Sensor) lasers, Rainbow Probes, and TeleStar® Plus Through-The-Lens lasers, the Vantage 450 is able to employ a range of laser technologies to suit any metrology task. White and even transparent parts can be measured, as well as easily deformable materials that would be harder to touch as well as see.
- Optics: The Vantage 450 comes with TeleStar® telecentric 10:1 zoom optics as standard. Auto-compensating and distortion free. SmartRing LED lighting also provides specific illumination across programmable concentric light rings.
With optional rotaries and grid projectors, the Vantage 450 has an incredible range of options at its disposal.
Why the Vantage?
Applied metrology is vital for businesses that need to measure their production quickly and accurately. The manual tools of the past are heavily subject to operator skill and accuracy, making them poor for repeatability or reliability.
Machines such as the OGP Vantage 450 are sturdy enough to be present on the shop floor, allowing metrology to take place without operators needing to leave the production environment and waste time travelling back and forth.
The incredible precision of OGP metrology machines means that parts can be tested against incredibly tight tolerances. Sensors analyse geometries down to the micron with repeatable results, meaning fast verifications and ultimately fewer rejections.
Metrology – whilst not seeming as effective for productivity as purchasing, say, another machine tool – ensures efficiency, reduces waste, and allows time-consuming tasks to be simplified and staggered.
To learn more about machines like the Vantage 450, contact OGP UP today. Our expert engineers can answer any of your questions and even arrange a demo for you.


